
What Is Prepress in Packaging?
Packaging prepress is the set of technical operations that converts an approved design file into a verified, print-ready output for a specific production process. It sits after creative approval and before a plate goes on press, and its job is narrow and unglamorous: confirm that what was approved can actually be manufactured, then prepare the files so it will be.
The stage is easy to underestimate because nothing visible changes. The carton looks the same at the end of prepress as it did at the beginning. What changes is everything underneath. Colors stop being values in a design application and become assignments to physical ink stations. A flat layout becomes an arrangement of carton blanks positioned on a press sheet by grain direction. Tones are adjusted on the plate to allow for the way ink spreads slightly when it hits the board.
Prepress is also where a file stops being one person’s responsibility and becomes a shared one. A design that reads beautifully in a presentation can carry a dozen conditions that make it unmanufacturable as drawn, and none of them are visible until somebody checks.
How a Design File Becomes a Printing Plate
The sequence below describes offset lithography on solid bleached sulfate paperboard, the process Arkay runs. Other processes reorder some of these steps and skip others entirely.
1. Intake and Preflight
Files arrive as two related but separate things: the structural dieline and the graphic artwork. Preflight checks the artwork mechanically. Are fonts embedded or outlined. Are linked images present and resolved at sufficient resolution, with 300 dpi at final size the commonly cited floor. Is the document in a print color space rather than RGB. Is transparency flattened. Are there stray objects outside the trim.
These are the errors prepress operators see most, and they are the reason a file described as press-ready so rarely is.
2. Artwork and Dieline Reconciliation
The artwork is checked against the correct version of the dieline, and the emphasis belongs on correct version. Dieline version mismatches are among the costliest prepress errors precisely because they survive every on-screen check and surface only when a physical sample is built.
This is also where bleed and safe area get verified across every panel, every score, and every glue flap. Most bleed guidance treats the trim edge as the only concern. On a folding carton it is not. A panel that bleeds correctly at the outside edge can still fall short on a glue flap, and that shortfall is invisible until the carton is glued, by which point the run exists.
3. Color Separation and the Spot Versus Process Decision
Every color in the file gets classified. Photographic imagery and gradients resolve to process builds. Brand-critical colors are usually specified as spot inks, mixed to formula and run on their own station, because four process inks cannot reach a large share of the Pantone library. Getting this wrong in either direction is costly: a signature color built as process will visibly drift, and a decorative tint assigned its own spot station adds a plate for no benefit. Why a specified color moves between substrates and runs is covered in our guide to the Pantone Matching System in packaging.
Structural and technical elements need particular care. Dieline paths and dimension callouts are set as spot colors and set to overprint. Left as knockouts, they print as white voids through the artwork.
4. Trapping
Presses register to a tolerance, not to perfection. Trapping creates deliberate overlaps at color boundaries so that a fractional plate shift does not open a white sliver between two adjacent colors. It is compensation designed in advance for a mechanical reality.
5. Imposition and Nesting
Carton blanks are arranged on the press sheet. This is not a simple grid. Blanks nest against each other to maximize yield from the board, and their orientation has to respect grain direction and the direction of sheet travel, because both affect how the carton folds and scores later.
6. Ink Sequence, Screening, and Tone Curves
Three interlocking decisions. Ink sequence determines the order colors lay down, and it matters mechanically: the first ink down needs the highest tack so it accepts the next one cleanly. Screening determines how continuous tone becomes printable dots, choosing between conventional halftone, stochastic patterns that handle fine vignettes and resist moiré, or hybrid approaches that limit minimum dot size to stop highlights dropping out and shadows plugging. Tone curves then compensate for dot gain, the enlargement dots undergo between plate and board, which varies with ink film thickness, screening choice, dot shape, and the board itself.
7. RIP and Plate Imaging
The raster image processor applies the linearization curves, trapping, imposition, and separation instructions and generates the raster that exposes the plate. Computer-to-plate imaging then writes each separation directly to its own plate, one per ink station.
8. Plate Calibration Curves
Before any plate mounts, calibration curves are applied so the plate itself accounts for gray balance and tonal reproduction targets. In a G7-calibrated workflow this is where the Neutral Print Density Curve is applied, as a one-dimensional correction at the plate stage. It means the press starts from a known position rather than being corrected toward one after the first sheets run.
9. Finishing Layers and Barcode Verification
Coating and varnish layers need their own correctly named channels, checked so that a knockout does not sit over copy that needs to be legible. Foil and embossing each need dedicated registration layers aligned to the artwork, and registered work that combines blind emboss with ink or foil needs review for score-crack risk and how it interacts with die cutting. Barcodes are verified for magnification, quiet zone, bar height, and print quality grade before anything goes to plate, because correcting a code as a file takes minutes and correcting it as a pallet does not.
Why Prepress Decides Print Quality
Prepress is the last point at which a packaging error is still just an edit. Everything before it is a file, and everything after it is a physical object produced in quantity.
That single fact drives most of what the stage is for:
It catches errors while they are still edits. A wrong ink build, a superseded dieline, or a barcode that will not scan costs minutes to correct in a file and a full run to correct on a pallet.
It makes repeat runs match. Plate calibration curves and an approved proof give the next run a documented reference, rather than leaving it to be matched by eye against whatever shipped last time.
It keeps a range consistent. When a brand runs several SKUs off the same palette, prepress is where they are held to one standard instead of drifting apart SKU by SKU.
It protects the press schedule. A file that reaches the plate room clean does not consume a slot that has to be given back.
The File Errors That Scrap a Run
The errors worth worrying about share a property: they pass every check a designer can run and fail only in production.
Missing bleed on a glue flap. Standard preflight verifies bleed at the trim edge. A glue flap is neither, and the failure appears after gluing.
A dieline version mismatch. Artwork built against a superseded structure. Invisible until a physical sample exists.
A brand color built as process. The color that ships is not the color that was approved, and the gap widens on saturated hues that process inks cannot reach.
Barcode quiet-zone encroachment. Artwork or a package edge intruding on the clear space around a code. GS1 specifies a minimum quiet zone of 9 times the X-dimension, the width of the narrowest bar, on both sides of a UPC-A symbol, with magnification permitted between 80 and 200 percent of nominal (GS1 UK). Many large retailers also enforce a minimum print quality grade at receiving (barcode.graphics).
RGB left in the file. This forces an uncontrolled color conversion late in the process instead of a deliberate, profiled one. It is the most avoidable error on the list and among the most common.
Unflattened transparency. Behavior at the raster stage becomes unpredictable, and elements can drop or shift in apparent color without warning.
A varnish knockout over copy. Incorrect overprint settings on a finishing layer look fine in a composite view and only reveal themselves once inks are separated.
What these cost is worth stating plainly. A printed URL pointing at the wrong destination, a barcode that will not scan at a retailer’s receiving dock, a legal line that reads correctly but sits under a varnish knockout: each is a few characters in a file, each clears every creative approval in the chain, and each is only discoverable once the carton is physical. That is the asymmetry defining this stage. Correcting a file costs minutes of prepress time. Correcting a pallet costs the run, and on a retail program it can take the launch window with it. Our guide to common packaging mistakes covers the broader category of pre-production pitfalls that sit around these file-level ones.
Where Prepress Fits in the Production Workflow
Prepress sits between brand approval and the press: artwork is signed off, prepress converts it into production files and plates, and only then does anything print. Its position is what gives it its function. It is the quality gate the job passes through, and the last one where a problem is still a file rather than a pallet.
It also gets blamed for problems that belong to neighboring stages, and credited for work it does not do. The boundaries are cleaner than they look.
The dieline itself comes out of structural packaging design, becomes a physical tool through die cutting, and everything downstream of platemaking is covered in our walkthrough of how packaging production works. On-press and post-press checks belong to packaging quality assurance, which is a different discipline answering a different question: prepress asks whether the file is right, QA asks whether the sheets match what was approved.
Three Kinds of Proof, and When Each Is Worth It
Proofing is where most of the calendar in prepress actually goes, and the three types are not interchangeable.
A soft proof is a monitor view. It is immediate and free, and it is useful for content, layout, copy, and structure. It is not reliable for color, because a display emits light while a carton reflects it, and no amount of monitor calibration fully closes that gap.
A contract proof is a calibrated hard proof produced to a defined reference condition, usually GRACoL in North America or FOGRA in Europe. It is the binding color standard: the document the press is measured against and the thing a client signs. For most premium carton work this is the decision point.
A press proof runs on the actual press, with the actual inks, on the actual board. It is the only proof that shows the finished article, including how the substrate and any coating affect the result. It also consumes press time, which is why it is reserved for work where color carries genuine commercial risk. Choosing a press proof for a signature palette is sound. Choosing one for a seasonal variant usually is not.
The Standards That Make Prepress Repeatable
Repeatability in printing is not a matter of care. It is a matter of measurement against published references, and three sit behind offset carton work.
ISO 12647-2:2013 is the international standard for process control in offset lithography. It sets targets and tolerances for the process primaries, for tone value increase, and for gray balance, along with substrate characteristics. Two things are worth being precise about, because both are widely misreported. Its tolerances govern the process colors, not spot inks, and the specific figures differ between the standard’s editions and between deviation and variation tolerances, so a single quoted number tends to be wrong somewhere. Where a brand color needs a tolerance, that gets agreed between brand and printer rather than read off this standard (ISO 12647-2).
GRACoL is the North American reference condition aligned to that standard, and what most contract proofs in the US are certified against. FOGRA serves the same role in Europe.
G7 is different in kind, and the distinction matters. G7 is a calibration methodology, not a color specification and not a press condition. It defines a neutral gray appearance through the Neutral Print Density Curve, referenced to the media white point, and prescribes how to calibrate any system toward it (Idealliance). It does not specify ink colors. What it does is control the starting point, and its connection to prepress is direct: the curve is applied at the plate calibration stage, which is step 8 above.
That distinction is worth being precise about, because G7 is often described as though it promised color matching. It does not. It means the press begins from a documented, measured position rather than an assumed one, which is the precondition for repeatable color rather than a substitute for it. Worth noting too that G7 Master Facility qualification is a plant credential, verified through submitted measurement data and independent evaluation (PRINTING United Alliance). Software vendors sell tools that help printers hit these curves. Holding the certification is a different thing from selling the software.
What Changes on Different Print Processes
Prepress is not one process. What it produces depends on what will print the job.
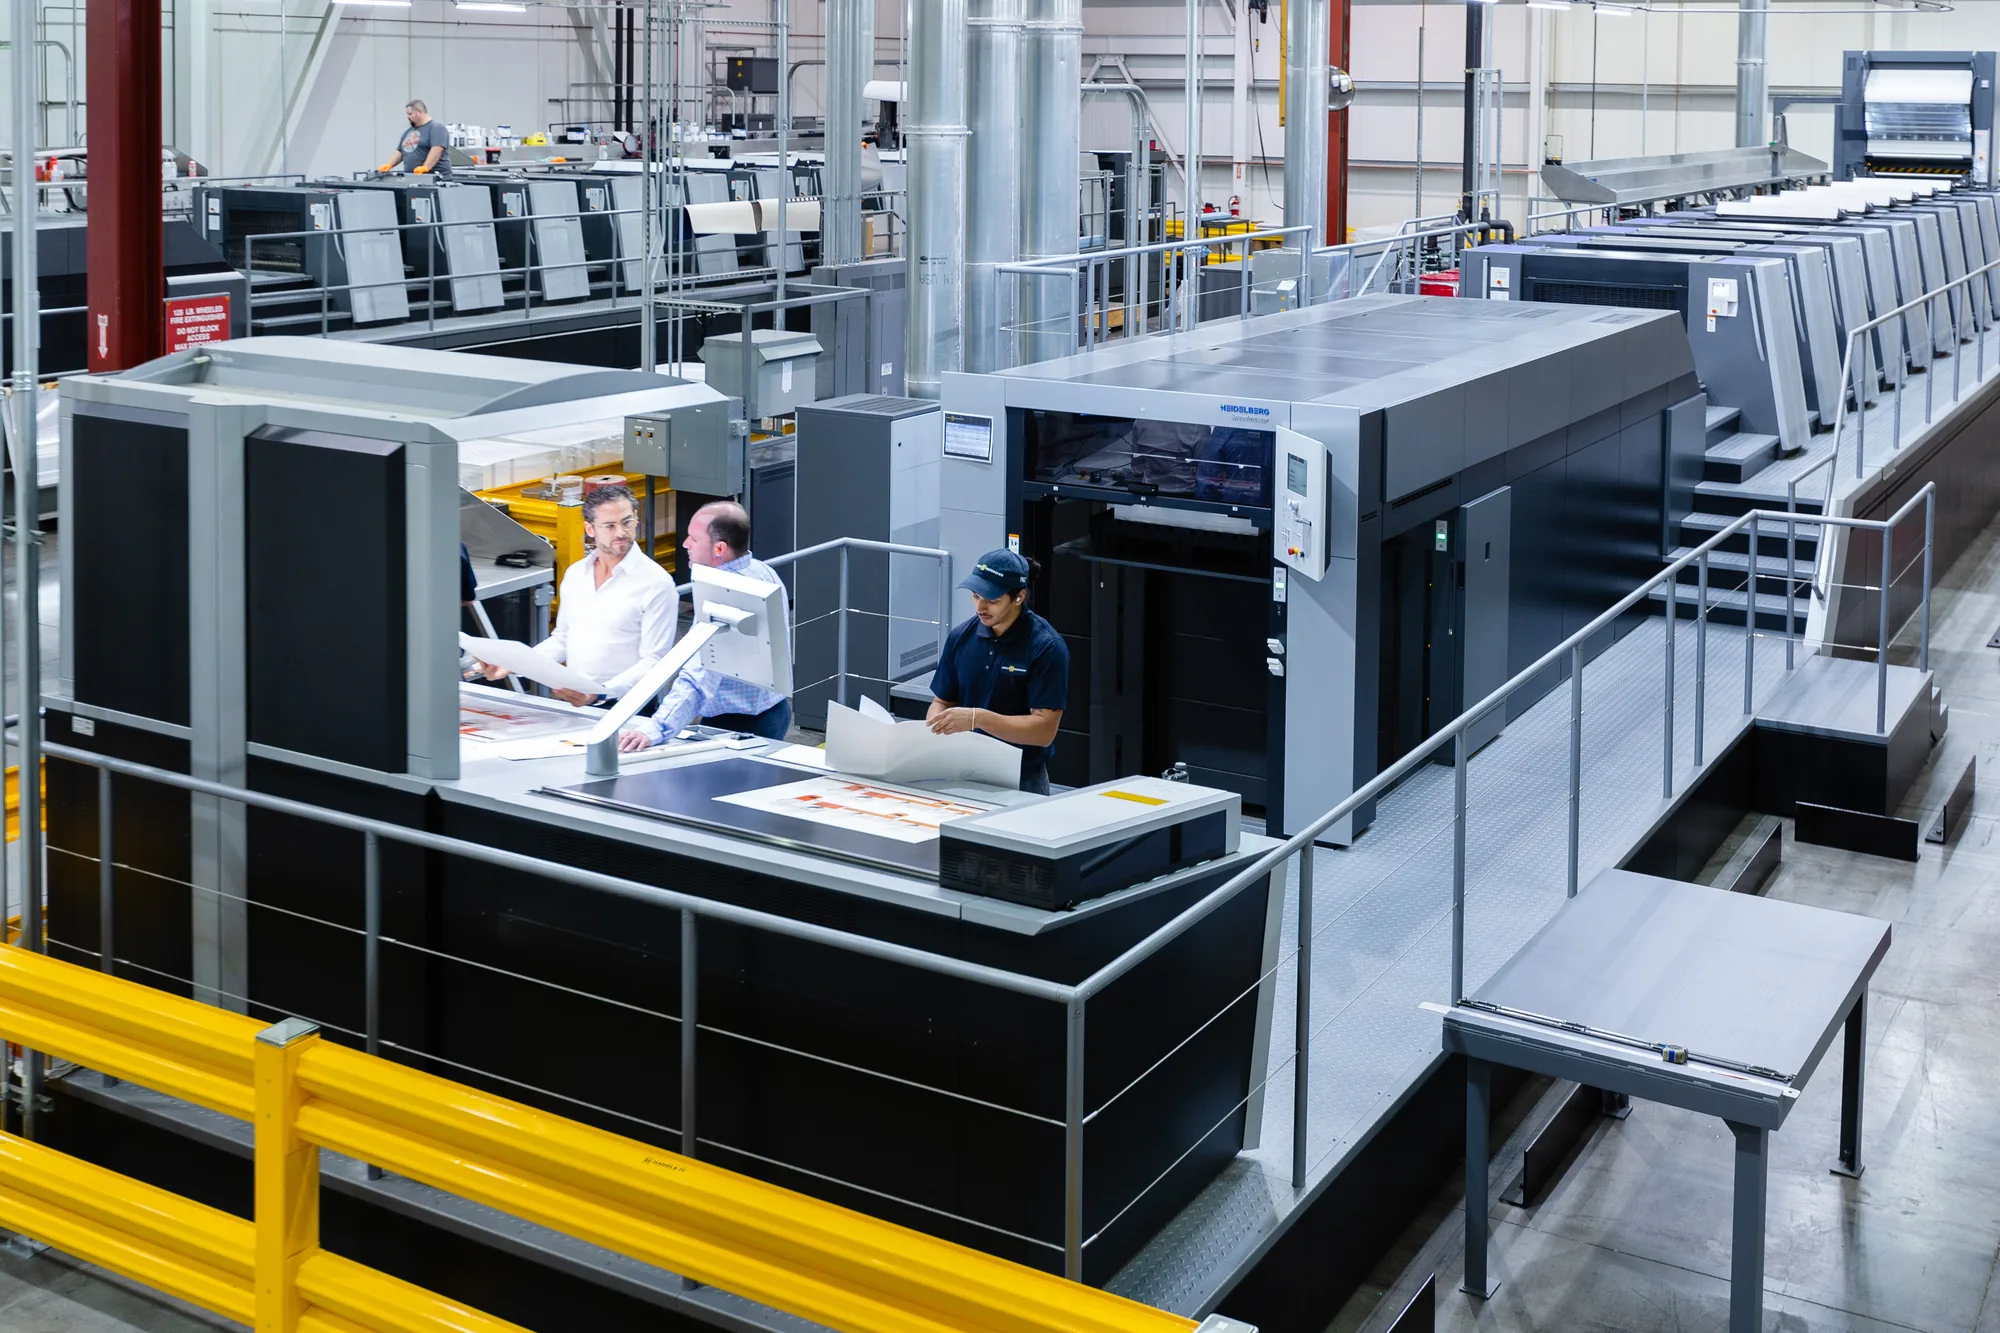
Offset, the process Arkay runs, needs a physical plate for every ink station, so it carries the decisions the rest of this article describes: plate calibration curves, computer-to-plate output, ink sequence, and screening chosen against how the board absorbs ink.
Flexo also uses plates, but they are mounted differently and ink transfers through an anilox roller, so dot gain behaves differently and the file has to be prepared for that behavior instead.
Digital skips plates altogether. That removes the calibration and sequencing decisions, and it also removes the stage where finishing depth gets engineered in, which is why Arkay runs production work offset rather than digital. Digital still has a place earlier on, in printed samples, where skipping plate setup is exactly the point.
The practical consequence for a brand is that a file prepared for one process is not automatically ready for another. Moving a carton between processes means revisiting the separations, not just resending the artwork.
The Last Checks Before a Plate Is Made
A short list runs immediately before plate output, and it is deliberately mechanical rather than a matter of judgment. Separations are viewed one ink at a time, so that anything set to knock out when it should overprint becomes visible. The barcode is verified rather than eyeballed. Finishing layers are checked against the artwork they register to. The approved proof is compared against the file that is about to be imaged, confirming they are the same revision.
None of it is glamorous. All of it takes minutes, against a run that does not.
Why the Handoff Structure Changes the Calendar
Prepress can sit inside the plant that prints the job, or at a separate trade shop, or with an outsourced service provider. The technical steps are broadly the same. What differs is how many organizational boundaries a file crosses before it reaches a plate, and that turns out to matter more than it sounds.
Packaging approval cycles are already long. Esko’s 2025 packaging trends research found that 89 percent of packaging artworks go through up to five rounds of review before approval, and that only 17 percent of teams use dedicated artwork management software, with email still the most common coordination channel (WhatPackaging?, 2025).
Read those two findings together and the risk becomes specific rather than general. Five review rounds coordinated over email is five opportunities for someone to comment on, approve, or forward the wrong version of a file. And the error that costs most, as set out earlier, is exactly that: artwork built against a superseded dieline.
Collapsing the handoff does not make the review rounds disappear. What it removes is the ambiguity between them. When prepress, platemaking, and the press occupy one building, the file that gets approved is the file that gets imaged, and nobody has to reconstruct which revision a proof was made from.
How Arkay Runs Prepress on Folding Cartons
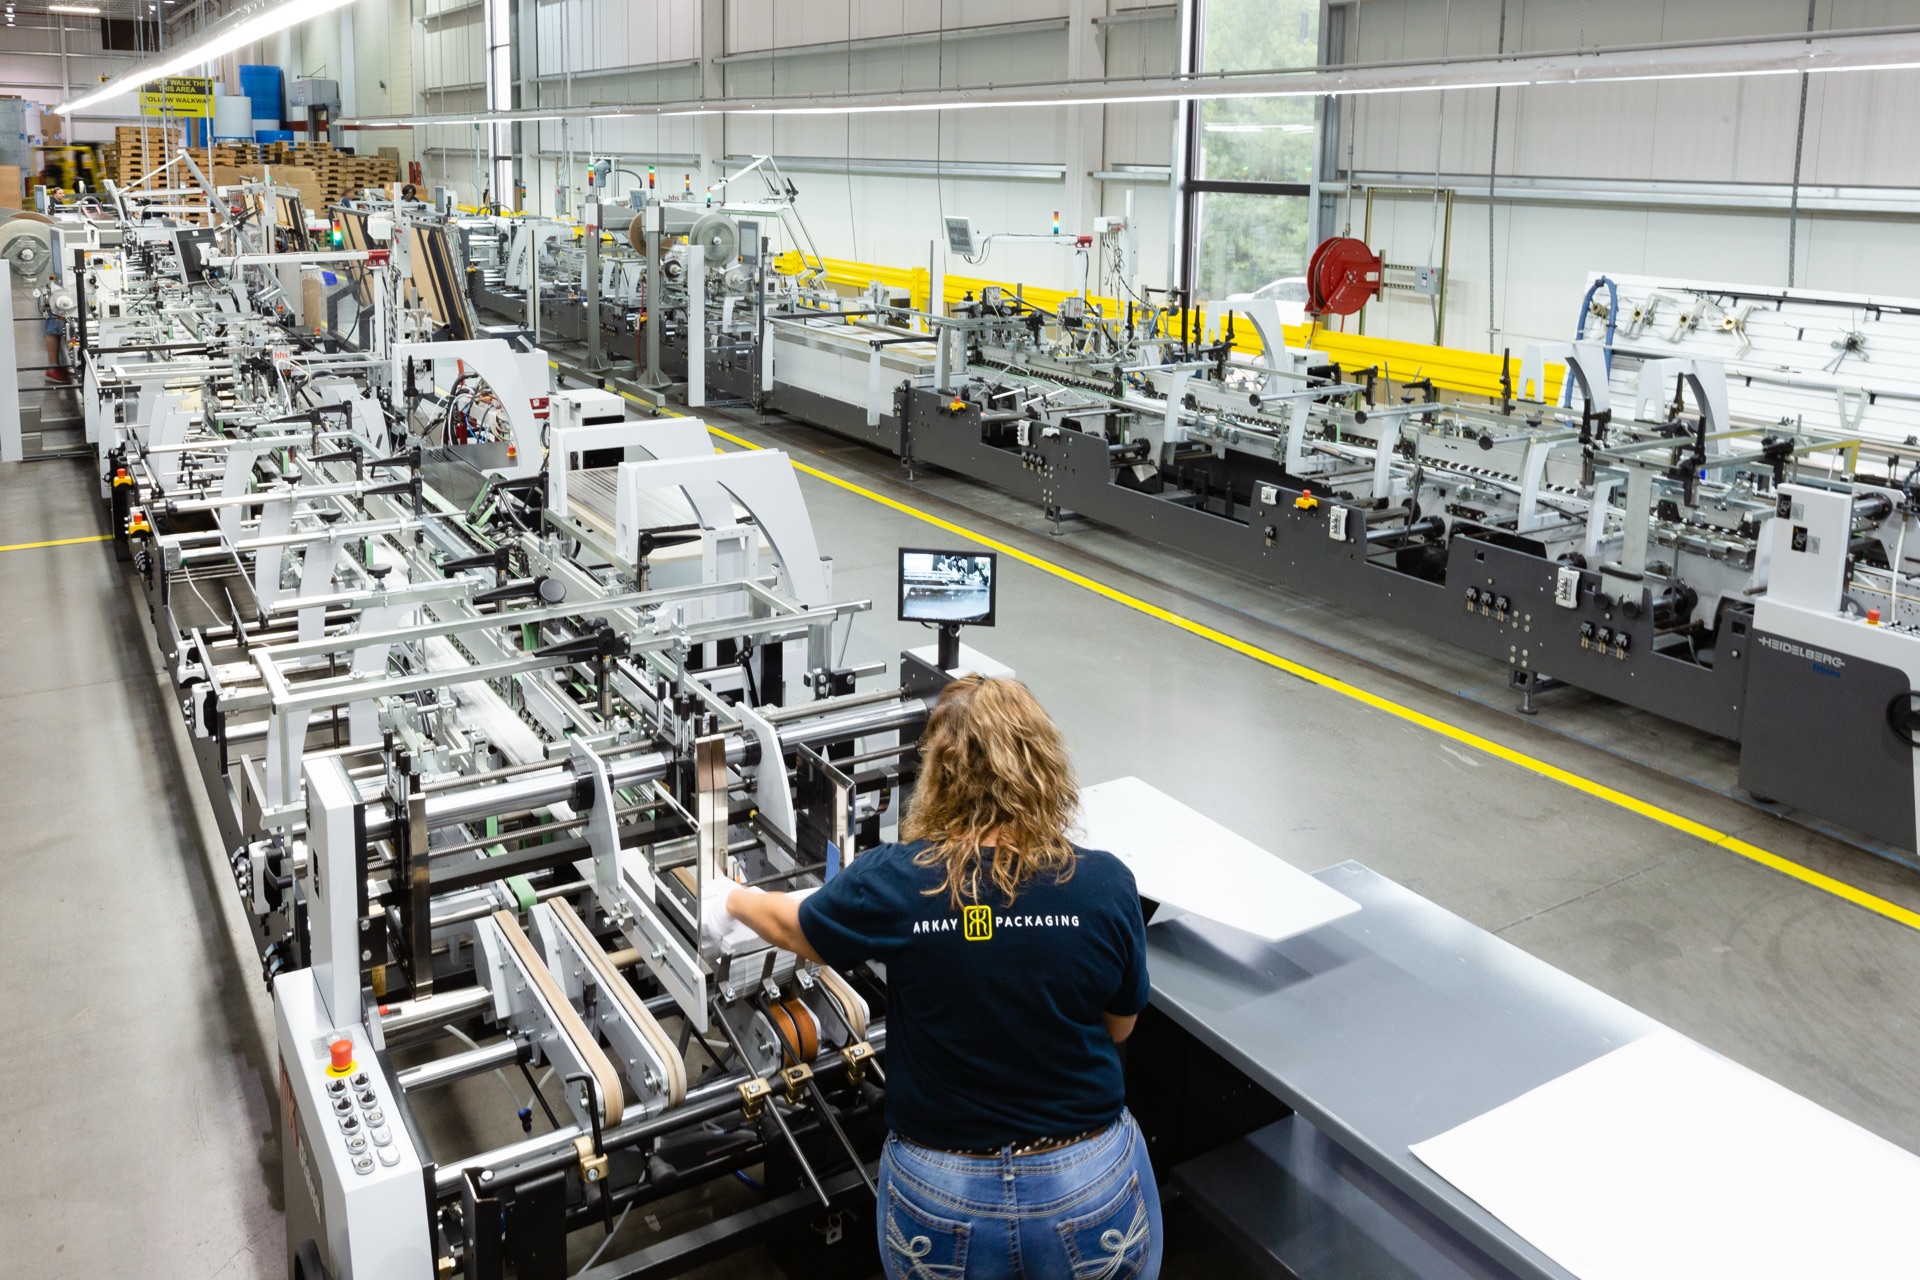
Arkay has been printing paperboard since 1922, now in its fourth generation of family ownership. Prepress runs in-house, in the same facility as printing and finishing: one 140,000 sq. ft. carbon-neutral plant in Roanoke, VA.
That integration is why plate calibration is a continuous discipline rather than a handover document. Arkay holds G7 color management certification, so the curves applied at the plate stage are measured against a documented baseline, and the presses receiving those plates are the presses they were calibrated for. Printing runs offset on solid bleached sulfate board from 14 to 28pt, with 28pt as a hard ceiling, which means dot gain behavior and score interaction are known quantities rather than variables introduced per job. Substrate choice and its consequences are covered in our guide to paperboard packaging.
Structural work happens earlier and separately, at the Design Studio in Hauppauge, NY, where a brand team can bring an idea and leave with a physical mock-up, typically within a week and as fast as one day when urgency demands it. By the time a file reaches prepress, the structure it references already exists as a validated object rather than a drawing. Arkay’s production capabilities exist so that these decisions can be made against evidence, alongside brand teams, designers, and packaging engineers rather than in isolation from them.
Where a brand color needs a wider palette without a plate per shade, extended gamut printing changes the separation strategy upstream in prepress, and we cover that trade-off in full separately.
Send Us a File Before It Goes to Plate
Send us the file. Not a description of it, not a flattened preview, the actual production artwork with its dieline.
We will tell you what is going to happen to it: which colors need their own station, where the bleed falls short, whether the barcode will pass at a receiving dock, and whether the structure it references is the one currently cut. That review costs nothing and it happens before a plate exists, which is the only point at which any of it is still an edit.
Reach out to Arkay’s team with a file, or with a question about one.
Frequently Asked Questions
How long does packaging prepress take?
For a carton with clean files and an existing structure, prepress is usually a matter of days rather than weeks. What stretches it is almost never the technical work: it is the number of times a file goes back for a revision, and the number of proof rounds a brand needs before signing. A file that arrives complete, in the right color space, against the current dieline, can move through to plate quickly. One that arrives provisional re-enters the queue every time it changes.
What is the difference between a dieline and prepress?
A dieline is the structural template for a carton shape, drawn once, defining every cut, fold, score, and glue flap. Prepress is the ongoing process of checking each new artwork file against that fixed template, run after run. Structural design creates the dieline; prepress never changes it, which is why a dieline version mismatch is a prepress catch rather than a prepress product.
Who is responsible when a prepress error reaches the press?
It depends entirely on what was approved and by whom, which is why the approval trail matters as much as the checking. If a printer images a plate from a file the brand signed off, and the error was present in that file, the brand generally owns it. If the printer introduced the error after sign-off, or missed something a standard preflight should have caught, that sits with the printer. The practical protection for both sides is a documented approval against a specific file version and a specific proof, so there is no argument later about which artwork was actually agreed.
How is prepress different for offset printing?
Offset prepress produces physical plates, one per ink station, which forces decisions that do not exist elsewhere: plate calibration curves, computer-to-plate output, ink sequence planning, and screening choices that interact with how the board absorbs ink. Digital printing skips plates entirely, so none of those decisions apply, and that plate stage is part of why Arkay runs offset rather than digital: it is where finishing depth gets engineered in rather than added afterward. Flexo uses plates too, but mounting and ink transfer behave differently enough that the file preparation diverges.
Should a brand supply print-ready files, or let the printer prepare them?
Either can work, but the decision should be explicit rather than assumed, because the most expensive errors happen in the gap where each side thought the other was checking. A brand supplying finished files needs someone who understands separations, trapping, and dieline reconciliation. A brand supplying design files and letting the printer prepare production artwork gets those checks by default but has to allow time for them. What does not work is supplying a file described as print-ready that has not been prepared as one.